
I've had a lot of people ask me about reverse single crochet (abbreviated rev sc or rsc; I've seen it both ways), also known as the crab stitch.
It is a bit of an awkward stitch at first, but once you get the hang of it, is really quite easy. What makes it so awkward is that it is worked the opposite way we typically crochet. The stitch is worked backwards; or from left to right.
I'm going to try to give detailed directions on reverse single crochet (rev sc/rsc) in my own words. The stitch instructions can also be found in the back of most crochet books where the stitches are explained. And, if you Google reverse single crochet (rev sc/rsc), I'm sure you will also find some video tutorials as well.
Step-by-Step - Reverse Single Crochet
(rev sc/rsc)
Step 1: Hold your project with the right side facing you.
Step 2: I always chain 1 before I start my row (or round) of reverse single crochet (rev sc/rsc)

Step 3: Insert your hook into the stitch to the right of your current stitch (you will be inserting your hook from the front of your work to the back).

Step 4: Yarnover and pull a loop through your stitch, you'll have two loops on your hook. (At this point I find it helpful to hold my hook horizontal to the top of my work. This gives me a chance to make sure my stitches are not twisted or tangled over each other. The loop you just pulled up will be closest to your hook and both loops should be level with each other.)
Step 5: Holding your hook horizontally, yarnover and pull yarn through both loops on your hook. ( I try to keep my hook horizontal as I find it helps to keep my stitches even.)


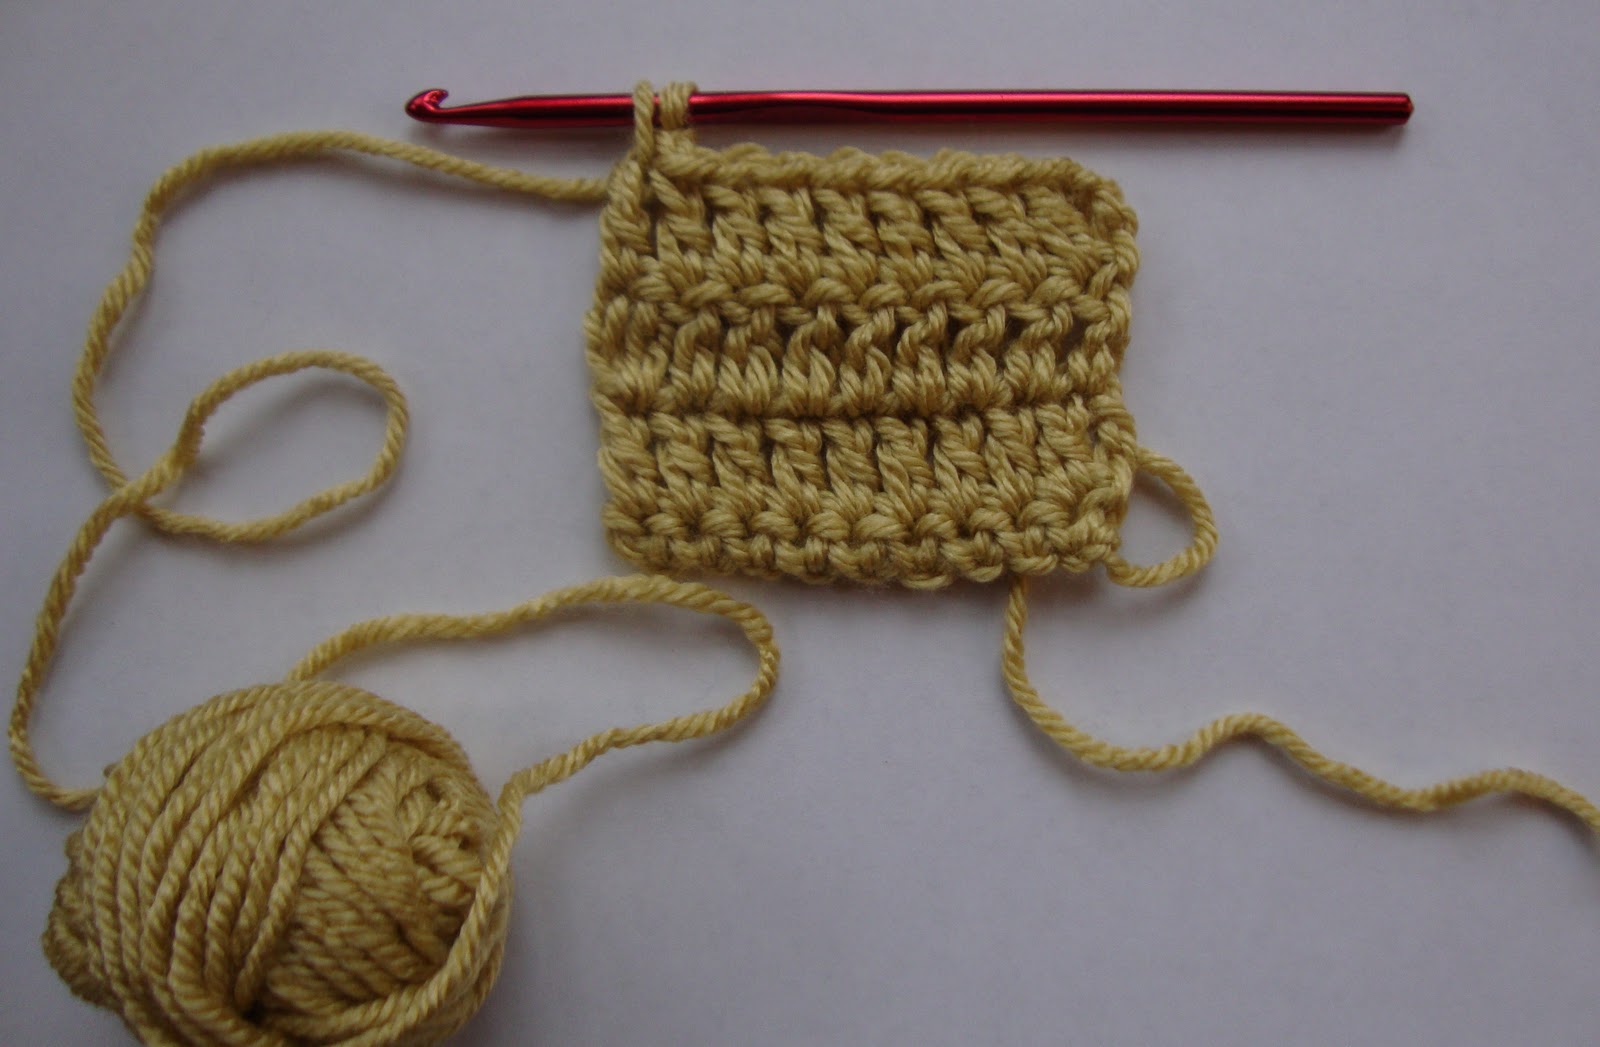
You'll need to complete five or six stitches before you'll be able to really see the cording emerge. (Note: You want to pull your stitches firmly, but not too tightly or else your fabric will pull.)

So, there you have it! :-)
Reverse single crochet (rev sc/rsc), is probably one of my favorite ways to complete a project. It creates a nice firm and professional finish. I think this edge resembles a corded edging that you might find on a commercial item.
Good luck and I hope you've found this helpful.
HDP